USING YOUR PALETTE

Since the interruption from the previous post has been taken care of, let’s talk about how to use your palette, shall we?
One of the biggest mistakes I made early on was trying to work directly in color. I “knew” an apple is red, so if I’m painting an apple, I just need to paint red, right?
You could, I guess. But there is a better way.
What would you say if I told you the best way to paint with color is to not use color at all?

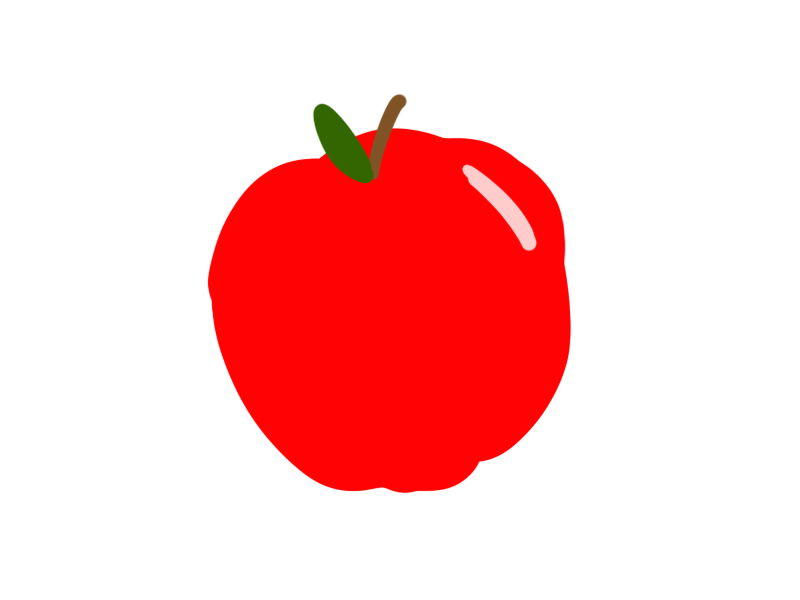
The little owl is right, old-timer with the mustache that literally got out of control when I was drawing it. You need to start opening your mind to new ideas, because by starting with something like this:
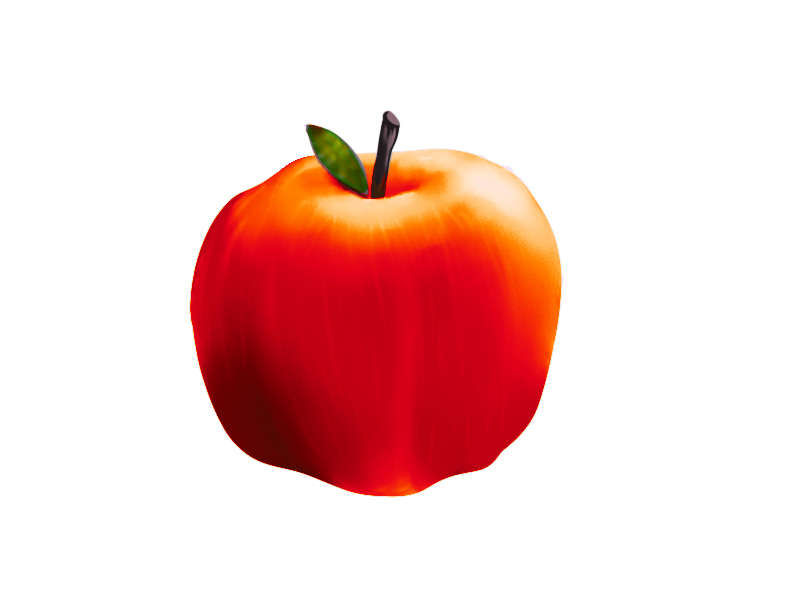
…I’m able to control all the light and shading before even touching color. And because I already have the only colors I can use, I can focus on utilizing those colors to come up with this:
So how did I get from Kansas to Oz so quickly? Let me break it down for you, step by step.
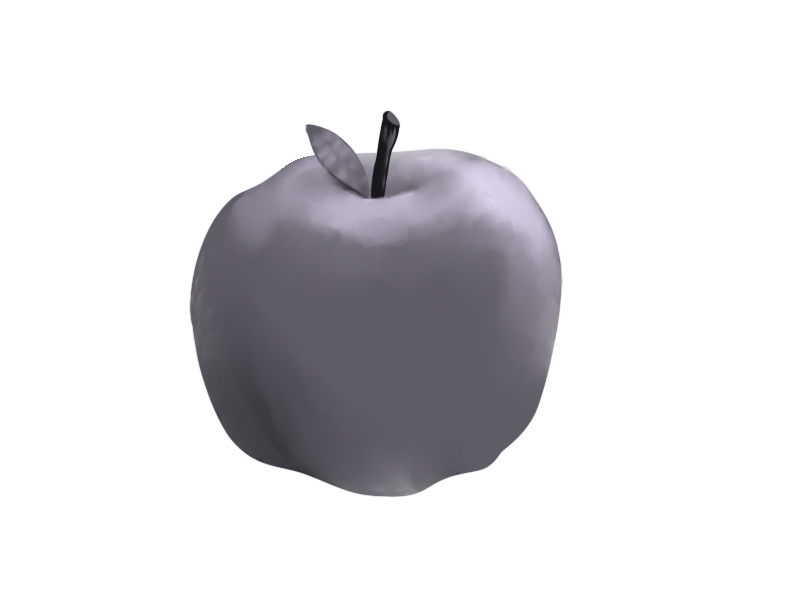
STEP 1 – DRAW THE SUBJECT IN B&W.
As mentioned before, by keeping the object grayscale, I’m able to focus more on how light and shadow play with the object.
STEP 2 – CHOOSE YOUR COLORS.
Well, half the work for this step is already done, as we took the time in the previous lesson to create a unified palette, right? So now, we just pick out the colors we know are found in an apple. As I’m sure you know, nothing in your observable field of view is purely one color. Even the blackened screen of your TV reflects various shades of the yellow light bouncing around your room from time to time. So we can’t just limit ourselves to reds.
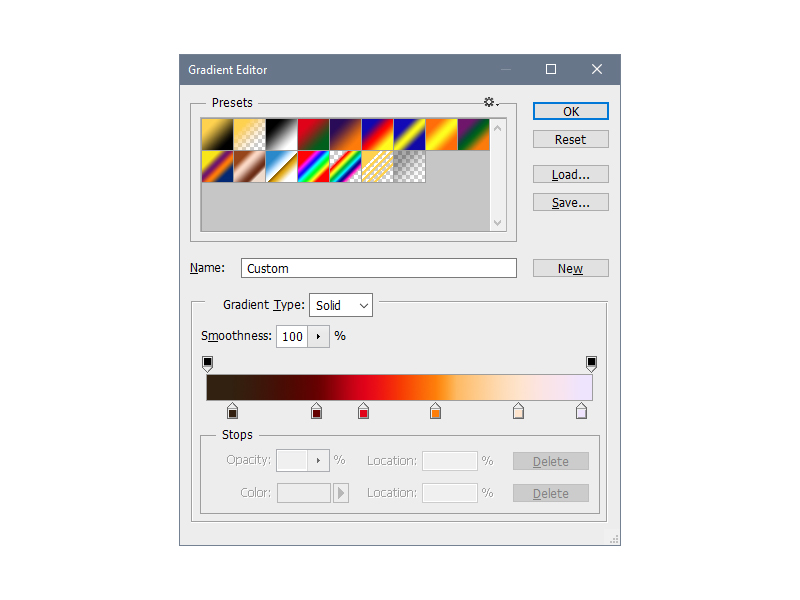
Below I have a gradient bar identifying the six main colors I used in the apple (excluding the brown and green from the stem and leaf.)

(FROM LEFT TO RIGHT: BURGER BROWN, GOOD BURGER MAROON, SALMONELLA RED, PRESIDENTIAL BRONZER, PASTEL YELLOW, AND THE LAST ONE.)
Speaking of gradient bar, I should probably pull back the curtain for a moment, which leads us to…
STEP 3 – GRADIENT MAPS AND YOU.
Now that you have your B&W drawing, as well as the colors of the apple (Excluding leaf and stem), open up a gradient map in Photoshop (Layers>New Adjustment Layer>Gradient Map) and plop your chosen colors into the gradient editor (seen below).
 Once you have the colors in place and adjusted accordingly, your B&W apple should look like this:
STEP 4 – TWEAK TWEAK TWEAK!
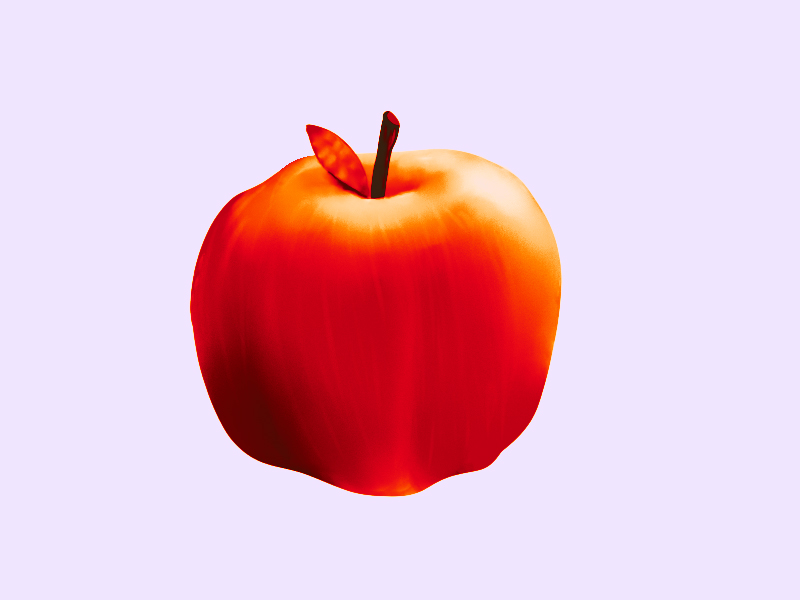
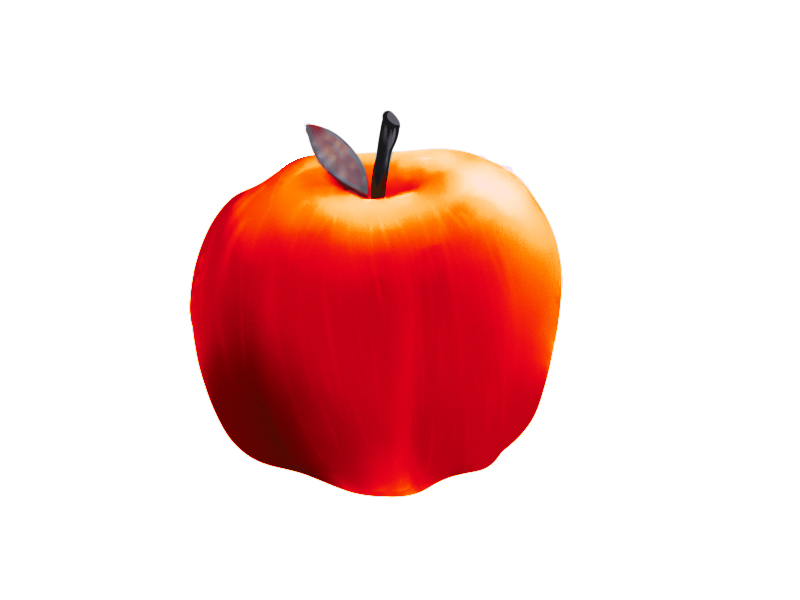
As you see, the gradient map colors EVERYTHING. How do you fix that? With vector masks! Applying a vector mask to the gradient map layer will allow you to block out areas you don’t want the gradient map to affect by painting the area black. Notice how the stem and leaf are grayish again, while the light violet has been removed from the background.
 STEP 5 – FINISHING TOUCHES
Selecting a green and a light brown, paint on a layer over the leaf and stem, and then set the layer’s blending mode to “Overlay.”
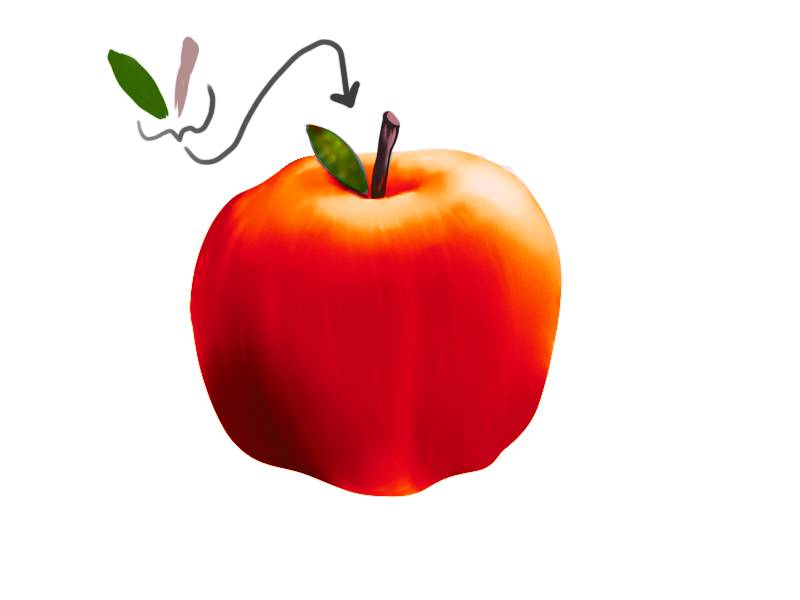 And presto! Like magic, the once B&W apple is in stunning technicolor!
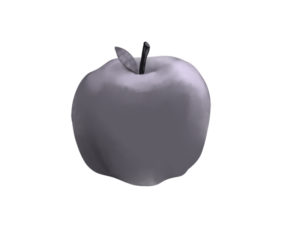
Before

After
This, of course, is only one way to use color in your paintings. As you advance, you’ll probably be able to see the value in every color and paint without a B&W place-holder to begin with. Also, we didn’t touch AT ALL upon color theory, or using color to guide the eye through a composition, or a lot of other things important to color…
Uff-da. I think I have a few more color posts in my future.
Oh well.
Until then, feel free to follow me on Twitter, Facebook, Instagram, and/or Tumblr!